
Airtable lets you see how your company operates on a single table, whether you need to manage your inventory, build a content schedule, or track employee data. What’s more, you may quickly learn how to build a membership database with the proper assistance. Tune in to this article to learn about how to create a membership template on Airtable, import your data, create tables, and link records to make it operate automatically.
Any association, NGO, or club heavily relies on member data. After all, your organization’s members, donors, and volunteers make up the foundation upon which it was established and the key to its ongoing success. This means that maintaining and caring for your membership database is vital. However, membership organizations with limited staff or volunteers frequently struggle to keep track of their members, volunteers, and supporters.
Many organizations use software such as Microsoft Excel to keep track of member records. However, after a certain point, you may lose control of your records as they might be duplicated or outdated in crowded workplaces. You may want to find a solution that reduces workload while optimizing the workflow. Using Airtable may create more difference than you think. Let’s see how to create a membership database template on Airtable in a few easy steps.
1. Create a base.
A base (short for “database”) is where you store important data and the workflows that rely on it. A base allows you to gather all your information effortlessly, arrange and connect it as you see fit, and update it as needed. No matter what project you’re working on, it’s the home for your team’s data and workflows.
Whether you’re creating a marketing content pipeline, planning an event schedule, or managing your team’s performance data, you need a single access point for all of that data. Airtable bases are simple to use, and they manage a membership database. They are created to store the most relevant information for your members, regardless of your organization.
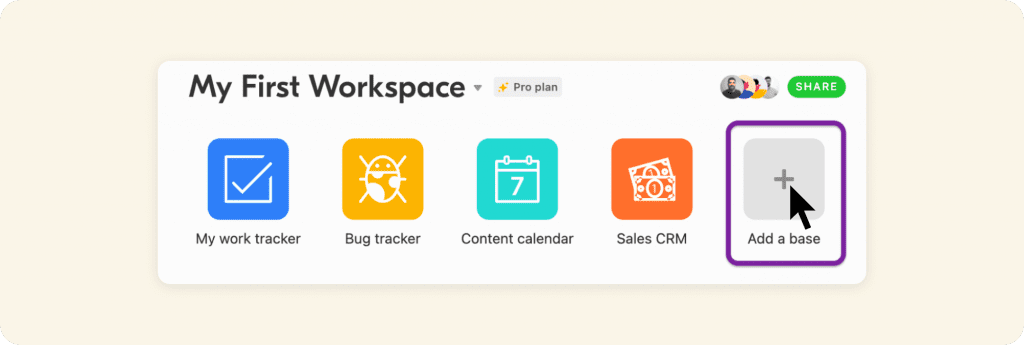
Ready to create your own membership database? Open your workspace and it will just take a minute to set up your first base. Click the big gray + sign that says “Add a base.”
If you already have your members’ data, you can save time by just importing it. If you don’t, you can also start from scratch. You can begin organizing your workspaces on the main page’s left side. It’ll be helpful if you’re dealing with many bases for various projects. Splitting different projects is a good idea if you want to manage your account better.
2. Create a table for your membership database.
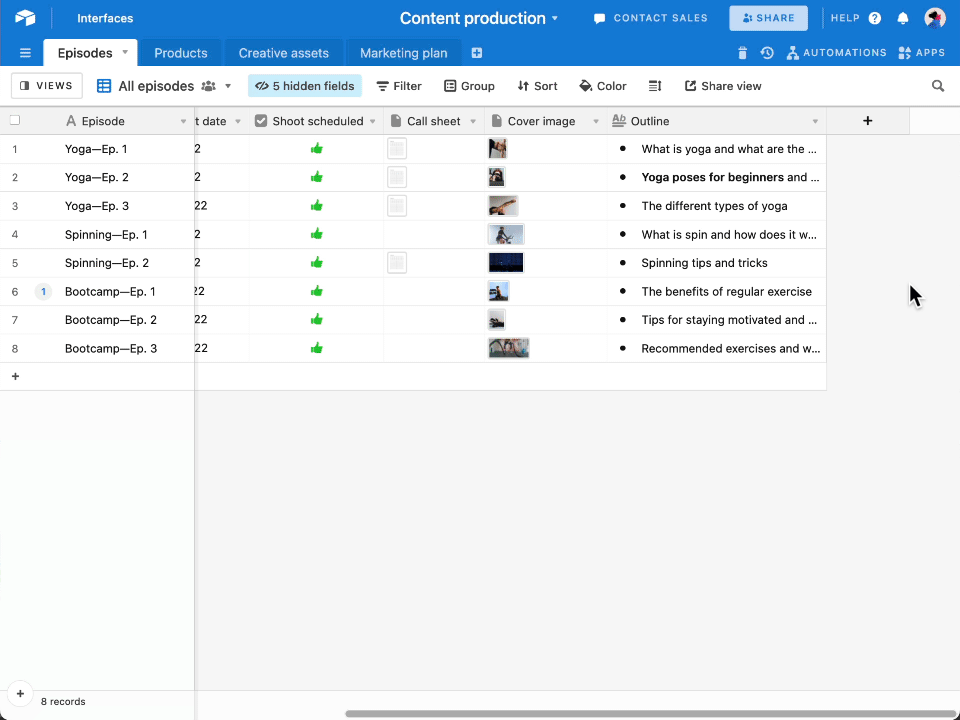
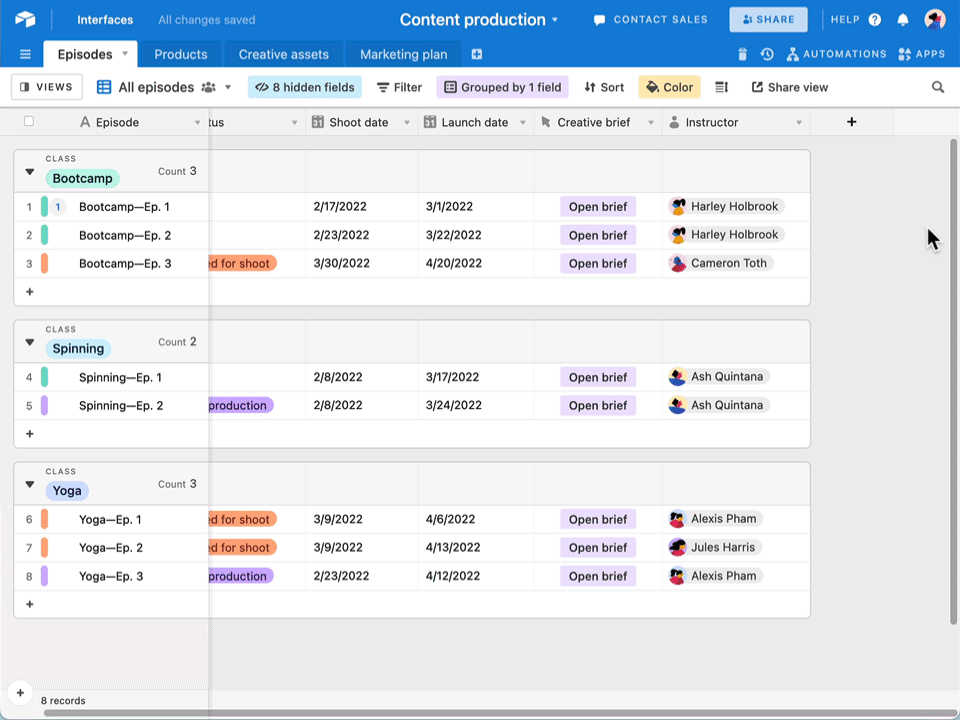
A base is composed of tables; each table contains a list of similar elements, such as people, ideas, or projects. You can find tables near the top of your base, and it’s generally a good idea to name them after the items they hold. Tables add your data structure—and a little structure goes a long way. A spreadsheet allows you to format each row, column, or data item in any way you like.
While the grid view of your table appears to be similar to a spreadsheet, the interaction between the data elements is different. A table helps you to create a consistent data set that preserves its formatting as it develops, enabling more intelligent analysis and improved workflow construction.
Tables allow you to separate distinct information clusters while still allowing them to communicate with one another—whether inside a single base or across numerous bases.
Mainly, there are three types of tables: Records, Field, and View. Here’s a brief overview:
- Record: It’s a single item in a table that is usually represented by a row.
- Field: A specific piece of information or detail for each record, typically represented by a column.
- View: Various methods of seeing the information in a table.
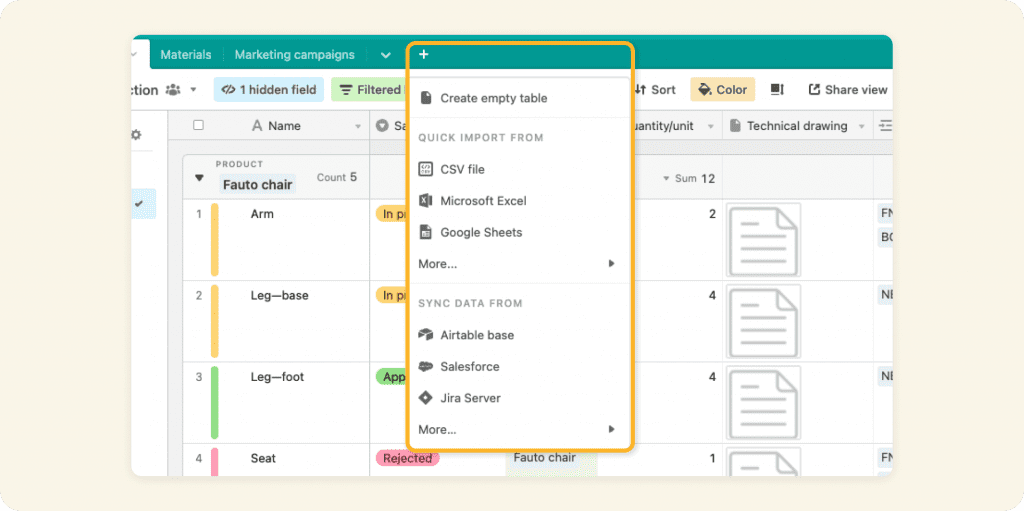
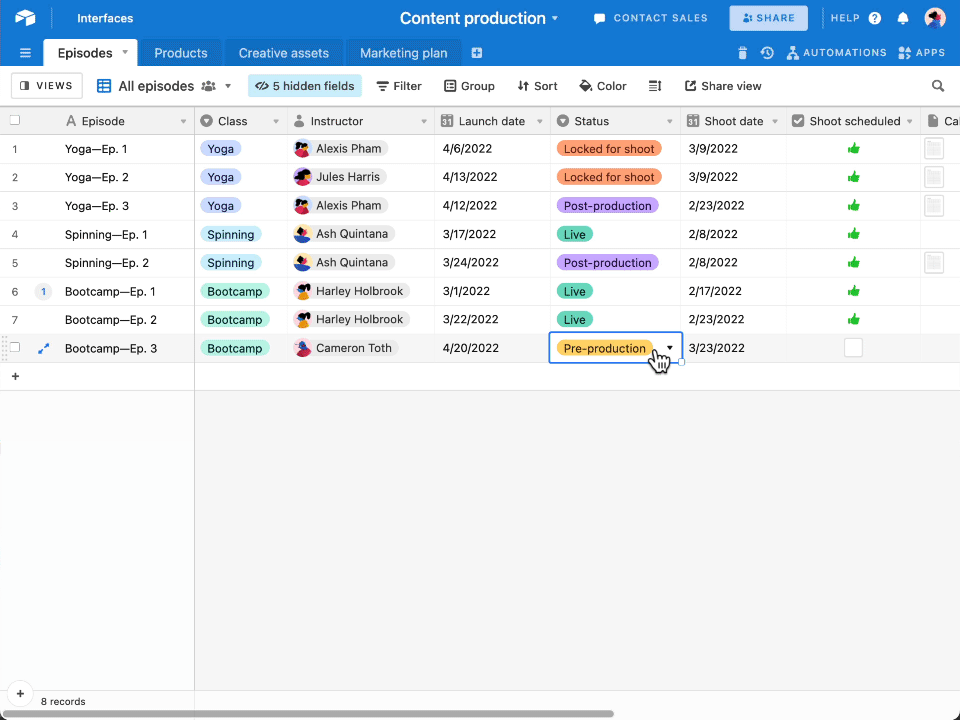
Creating a new table from scratch takes a minute or two. You will be provided with a blank table in a grid view when you build a new base. Your first table is “Table 1,” with the following fields: Names, Notes, Attachments, and Status. You can change the name of your table by double-clicking it. You can also add other tables by selecting the small “Add or Import” icon at the top of a base.
3. Add your membership database with records.
A record is a single item in a table containing all its essential details. Consider it the table’s unit—if your table organizes events at a conference, each record is a presentation. Since you can visualize data in various ways, having a memorable name for each is critical. Make sure to put your records’ names in the first column—this is the primary field.
Start adding records to your table anytime. You can manually add a record by clicking the plus sign at the bottom of a grid view or using the shift + return keyboard shortcut.
4. Organize your membership database in fields.
A field maintains unique information for each record. Fields are presented as vertical columns in the grid view of your table, and each field is meant to store a specific type of information.
Every field has a type to determine how the data within it is saved and viewed. Field types enable you to standardize and capture dynamic data such as text, numbers, dates, and attachments.
Field types simplify and standardize data entry. As you perceive your work in various ways, each field becomes a piece of data you can use to sort, categorize or filter by as you search through your membership database.
Airtable supports over 20 different field types, each of which behaves differently. There are options for manual entry, such as brief text or single select; auto-populating fields, such as last modified or created by; and computed fields, such as formula and roll-up. Let’s look at the five most common field types and see if you can add them to your membership database! To add a new field, click the + button on the far right, or double-click an existing field to change it.
- Tag items or track status through a single select field
- Track dates through a date field
- Check off items through a checkbox field
- Store important files through attachment
- Add important details including long texts
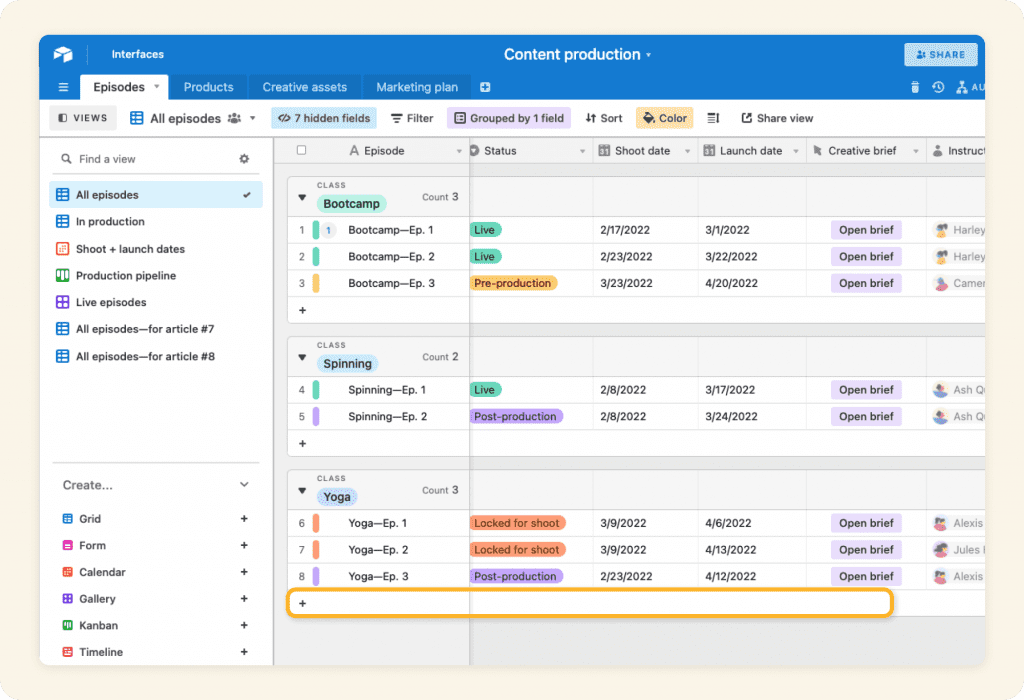
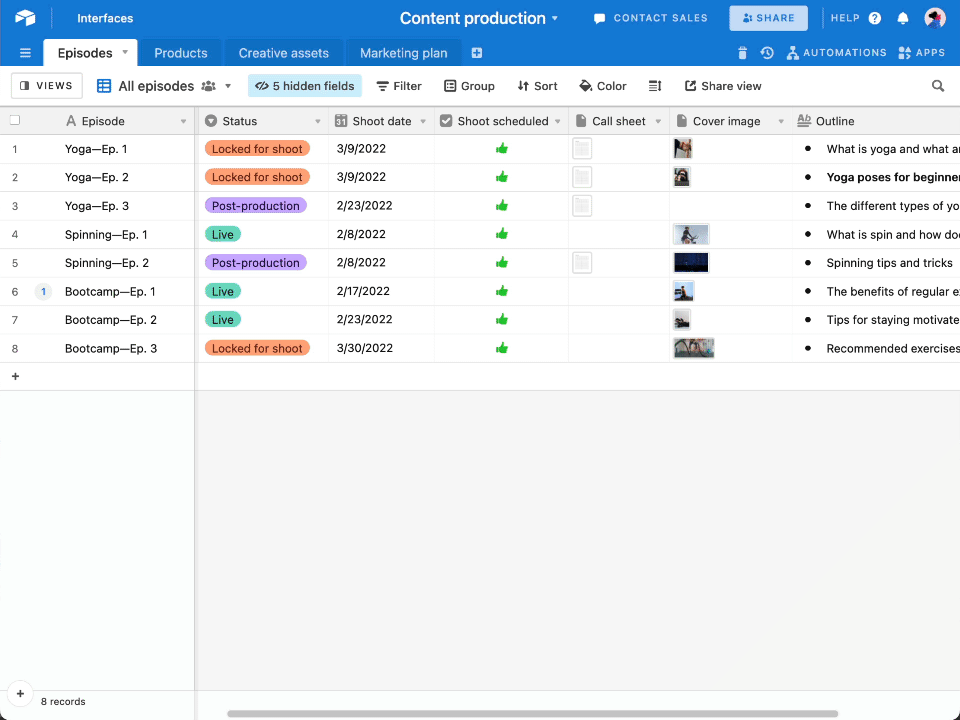
5. Create custom views of your membership database.
You can begin customizing how you view your information once you’ve established your records and fields and added data. Each view retrieves the data in your table differently. Additionally, each can be adjusted to what you need to see in that scenario. You can build as many views as you need to meet the demands of your team.
It is simple to design a new view from scratch or views that are versions of one another with slightly different filtering or sorting criteria. However, regardless of the type of view you’ve created, they all refer to the same underlying data. Any data you alter in one view will be reflected in your whole membership database.
Customizing a view allows you to tailor what you see and how you see it, selecting exactly what you need for a specific role or stage in your workflow. You can change the appearance of a certain view in your table by hiding, filtering, grouping, sorting, and coloring your records and fields using the view toolbar.
There are mainly four view types; Grid, Kanban, Timeline, and Calendar.
1. Grid View:
Grid view is the default view for viewing a table and is arguably the most familiar if you’re used to working with spreadsheets. It shows data as a sequence of rows and columns, with each record being a row and each field as a column.
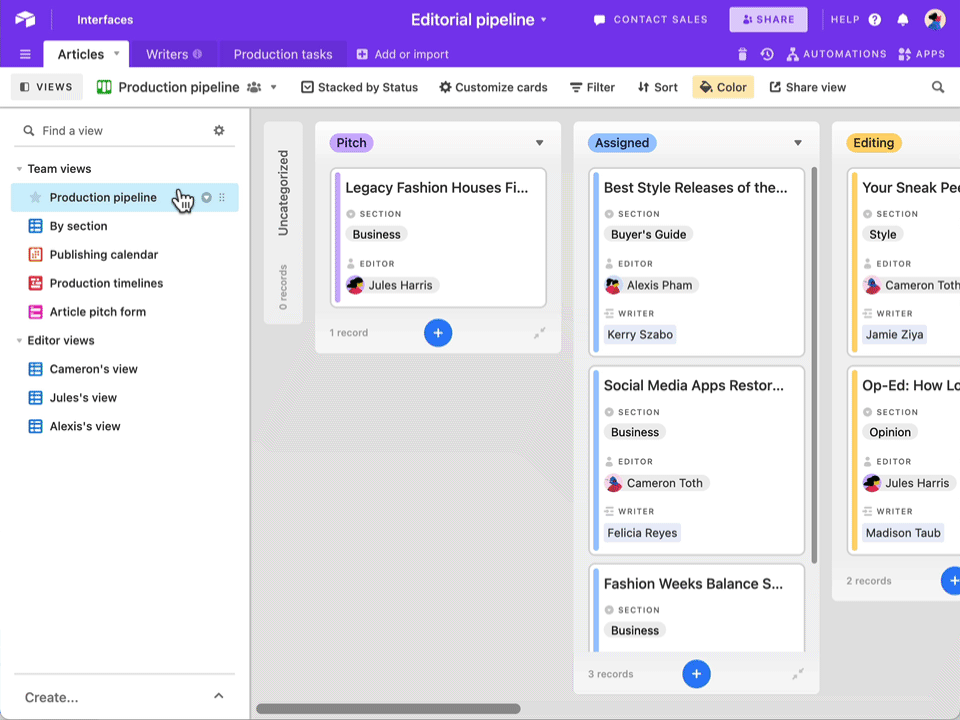
2. Kanban View:
A kanban view organizes your data into visual stacks based on a single select or collaborator field; you can then move between piles by dragging and dropping. It’s a good method to view what’s on everyone’s plate simultaneously or how many items are in each status in a project.
3. Timeline View:
The timeline view allows you to visualize and track your records on a horizontal timeline that you may customize. You can organize your records by any of your table’s fields into visually different “swimlanes”—and this is where you can get detailed with tracking your team’s resource allocation if that’s something you’re interested in.
4. Calendar View:
Calendar view, as the name implies, allows you to see all of your entries on a calendar. You can display your records on a monthly, 2-week, weekly, 3-day, or daily calendar as long as they have at least one date field.
6. Connect your membership database with linked records.
Linked records are an effective means of establishing relationships between your data. They help to transfer data from one field to another or between many records and to conduct calculations between them.
If you have one table for action items and another for projects, linking records between them will allow you to track their relations. The linkages are bidirectional, so you’ll see the data from the other table no matter which side of the link you look at.
When you organize data in tables, linked records can help map complex relationships to expedite your workflow and access information quickly. Every Airtable base is a relational database and a dynamic home for your team’s data with certain unique advantages. Adding connected records to your workflow allows you to save unnecessary data entry while guaranteeing that updated information is always available.
It’s also the initial step toward automating aspects of your workflow by providing access to a collection of calculated field types capable of summarizing and calculating data across bases.
Try connecting two tables in your own membership database. Add a new field to one table and set the field type to “linked record.” Then connect to the second table so you can look up a record in one and associate it with the other.
Now It’s Your Turn!
Now that you know how to create your membership database on Airtable, you can start working on those steps! If you’d like to learn more about membership management, check out these articles below:

")
")
")